Blog

  • search

    Educational Purpose

    This project focuses on building a high-quality search engine on custom data using txtai.
    txtai is an all-in-one embeddings database for semantic search, LLM orchestration and language model workflows.

    Overview

    The project includes preparing a text corpus, indexing it using txtai, and then performing advanced semantic searches. It leverages txtai’s Textractor for text extraction and incorporates a custom SemanticSearch class for efficient searching.

    Prerequisites

    • Python 3.6+
    • txtai library

    Corpus Preparation

    1. Extract Text Data:
      • Use txtai’s Textractor to extract text from various materials. Ensure sentences=True is set.
      • Store the extracted list of sentences in separate text files for different materials.
      • Merge these files into a single text file named database.txt.
      • Later, we can simply open(‘database.txt’).readlines() to get the dataset as list of segmented sentences.

    search.py

    This script uses txtai to process, index, and load the raw data present in database.txt. It sets up the infrastructure for the search engine.

    SemanticSearch Class Usage

    Step 1: Initialization

    Create an instance of the SemanticSearch class. Specify the model path for embeddings.

    from src.search import SemanticSearch
    semantic_search = SemanticSearch()

    Step 2: Download and Load the Index

    Download the index file and load it into the SemanticSearch instance.

    wget https://huggingface.co/<user>/<repo>/resolve/main/index.tar.gz # or any URL where your index lives

    Then you can simply

    from src.search import SemanticSearch
    semantic_search = SemanticSearch()
    semantic_search.load_index('index.tar.gz')

    or train the index on your custom data by using the create_and_save_embeddings.
    Pass the data as list of strings in the first argument then the index.tar.gz as second.

    semantic_search.create_and_save_embeddings(dataset as list of segmented sentences, 'index.tar.gz')

    Step 3: Performing a Search

    Perform semantic searches using the search method.

    query = "Your search query"
    results = semantic_search.search(query, limit=5)
    
    # Displaying results
    for result in results:
        print(result)

    Example

    Let’s see the performance of this library on a custom dataset

    python test.py 
    Embeddings loaded in 5.36 seconds ⚡️
    🔍 Query: What is kshipta avashta
    
    Search completed in 3.29 seconds ⚡️
    ['mind please see this carefully kshipta is the distracted or restless state when you know what you should do but well energy nahi hai somehow you want', 'a Avastha The next state is Which also you go into, it is the Kshipta Avastha is kshitva avastha where you are very restless, very agitated, thinking']

    Then you can use the output from this to the language models

    from txtai.pipeline import LLM
    
    # Create and run LLM pipeline
    llm = LLM('google/flan-t5-large')
    llm(
      """
      SYSTEM: You are Natasha, a friendly assistant who answers user's queries.
    
    USER: what is kshipta avastha
    
    CONTEXT:
     ['mind please see this carefully kshipta is the distracted or restless state when you know what you should do but well energy nahi hai somehow you want', 
     'a Avastha The next state is Which also you go into, it is the Kshipta Avastha is kshitva avastha where you are very restless, very agitated, thinking']
    
    ASSISTANT:
      """
    )
    Natasha: kshipta avastha is the distracted or restless state when you know what you should do but well energy nahi hai somehow you want
    

    Pretty good response if you ask me.

    Second example:

    python test.py 
    Embeddings loaded in 4.42 seconds ⚡️
    🔍 Query: Who is Rene Descartes?
    
    Search completed in 1.78 seconds ⚡️
    ['Descartes, or Cartesius (his Latinized name), is usually regarded as the founder of modern philosophy,and he was also a brilliant mathematician and a', 'According to Werner Heisenberg ( 1958 , p. 81), who struggled with the problem for many years, “This partition has penetrated deeply into the human mi']

    and giving it to the LLM

    llm(
      """
      SYSTEM: You are Natasha, a friendly assistant who answers user's queries from the given context.
    
    USER: Who is Rene Descartes?
    
    CONTEXT:
    ['Descartes, or Cartesius (his Latinized name), is usually regarded as the founder of modern philosophy,and he was also a brilliant mathematician and a', 'According to Werner Heisenberg ( 1958 , p. 81), who struggled with the problem for many years, “This partition has penetrated deeply into the human mi']
    
    
    ASSISTANT:
      """
    )
    Descartes, or Cartesius (his Latinized name) is usually regarded as the founder of modern philosophy
    

    Again, pretty good.

    Extras:

    llm_router.py

    This script uses txtai to determine the query type and the appropriate tools required for processing.

    result = classifier.classify_instructions(["Draft a poem which also proves that sqrt of 2 is irrational"])
    print(result)

    Blog: https://medium.com/@sethuiyer/query-aware-similarity-tailoring-semantic-search-with-zero-shot-classification-5b552c2d29c7

    Visit original content creator repository
    https://github.com/sethuiyer/search

  • insta-extract

    Insta Extract

    insta-extract is a command line application that scrapes instagram information.

    [!] Instagram sometimes updates how its data is accessed, this script may be outdated.


    How to use it

    Python must be installed.

    # Clone project
    git clone https://github.com/JavideSs/insta-extract.git
    cd insta-extract
    
    # Run insta-extract
    python main.py -h
    

    Usage examples

    • User info:

    python main.py -u <user_to_scraping>

    If any other option has been used and you want to display the user information as well use the -i option:
    python main.py -u <user_to_scraping> -i

    To download the profile picture use the -dp option:
    python main.py -u <user_to_scraping> -dp

    • Login:

    Required in some options according to limitations:
    python main.py -l <user> <passw>

    Logout:
    python main.py -ld

    • Posts info:

    At index counting from the last post as 0:
    python main.py -u <user_to_scraping> -p 1

    Of all posts:
    python main.py -l <user> <passw> -u <user_to_scraping> -p

    To download the posts found use the -dp option:
    python main.py -l <user> <passw> -u <user_to_scraping> -p -dp

    • Followings usernames:

    python main.py -l <user> <passw> -u <user_to_scraping> -f1 <file1.txt>

    • Followers usernames:

    python main.py -l <user> <passw> -u <user_to_scraping> -f2 <file2.txt>

    • Compare usernames:

    python main.py -c <file1.txt> <file2.txt>

    Additional

    Multiple options can be specified at the same time.
    Example to know followings not followers and vice versa:
    python main.py -l <user> <passw> -ld -u <user_to_scraping> -f1 <file1.txt> -f2 <file2.txt> -c <file1.txt> <file2.txt>

    When you login with the -l option the session is saved in the usersession file, it will be used for the following extractions. So it is not necessary to use the option while the file exists.

    Limitations

    If the account is private and you have not logged in or are not following him, you can only get user info.

    The instagram api limits unlogged users to:

    • The option of followings and followers will not be available.
    • Post information will have a limit of a range of the last 12 posts.

    Instagram blocks this script after many requests, be careful.

    Username comparisons should be as the output format of the followings and followers options.


    Dependencies

    • Python (3.10) >= 3.6.
    • Requests (2.32.3).

    Feedback

    Your feedback is most welcomed by filling a
    new issue.


    Author:
    Javier Mellado Sánchez
    2021, 2023, 2025

    Visit original content creator repository
    https://github.com/JavideSs/insta-extract

  • topopartner

    Topopartner

    Topopartner is a Django application dedicated to topographic personal data management. Namely, it holds a database of waypoints and tracks. It offers a track edition interface, GPX exports, elevation profile plots, hike duration prediction, and more.

    Check out ychalier/topopartner-android for an example of Android client.

    Getting Started

    Prerequisites

    You’ll need Python 3.6 or above.

    Installation

    1. Install the module from its custom package repository.

      pip install --extra-index-url="https://packages.chalier.fr" django-topopartner
    2. Edit the website settings.py:

    • Add mathfilters to the INSTALLED_APPS
    • Add topopartner to the INSTALLED_APPS
    1. Migrate the database:

      python manage.my migrate
    2. Collect the new static files (override if necessary):

      python manage.my collectstatic
    3. Integrate topopartner.urls in your project URLs

    Built With

    Future Work Pointers

    Here are some other elevation sources that could be implemented in this application:

    Background Image

    The contour lines drawn on the background were generated by randomly placing periodic Gaussians on a 2D plane using NumPy and Matplotlib (and a bit of Photoshop 😄).

    Visit original content creator repository
    https://github.com/ychalier/topopartner

  • eslint-config

    @quic-pro/eslint-config

    Shareable ESLint config.

    Installation

    # Using npm
    npm install --save-dev @quic-pro/eslint-config
    
    # Using yarn
    yarn add --dev @quic-pro/eslint-config

    Required ESLint version >= 8

    ESLint documentation

    Configs

    Available configs:

    Use the recommended config with other configs.

    Usage

    default

    1. Add to your ESLint config:

      {
        "extends": [
          "@quic-pro/eslint-config"
        ]
      }

      Or you can also omit the eslint-config and it will be automatically assumed by ESLint:

      {
        "extends": [
          "@quic-pro"
        ]
      }

    recommended

    1. Add to your ESLint config:

      {
        "extends": [
          "@quic-pro/eslint-config/recommended"
        ]
      }

    typescript

    1. Install required dependencies:

      #Using npm
      npm install --save-dev typescript @typescript-eslint/eslint-plugin @typescript-eslint/parser
      
      # Using yarn
      yarn add --dev typescript @typescript-eslint/eslint-plugin @typescript-eslint/parser

      Required versions:
      typescript >= 4
      @typescript-eslint/eslint-plugin >= 5
      @typescript-eslint/parser >= 5

    2. Add to your ESLint config:

      {
        "parser": "@typescript-eslint/parser",
        "parserOptions": {
          "ecmaVersion": "latest",
          "sourceType": "module",
          "project": "./tsconfig.json"
        },
        "extends": [
          "@quic-pro/eslint-config/recommended",
          "@quic-pro/eslint-config/typescript"
        ]
      }

    react

    1. Install required dependencies:

      # Using npm
      npm install --save-dev eslint-config-react-app eslint-plugin-jsx-a11y eslint-plugin-react eslint-plugin-react-hooks eslint-plugin-simple-import-sort
      
      # Using yarn
      yarn add --dev eslint-config-react-app eslint-plugin-jsx-a11y eslint-plugin-react eslint-plugin-react-hooks eslint-plugin-simple-import-sort

      Required versions:
      eslint-config-react-app >= 7
      eslint-plugin-jsx-a11y >= 6
      eslint-plugin-react >= 7
      eslint-plugin-react-hooks >= 4
      eslint-plugin-simple-import-sort >= 8

    2. Add to your ESLint config:

      {
        "extends": [
          "@quic-pro/eslint-config/recommended",
          "@quic-pro/eslint-config/react"
        ]
      }

      If you are using TypeScript with React then you can also add “@quic-pro/eslint-config/typescript”. See instructions above.

    License

    MIT

    Visit original content creator repository
    https://github.com/quic-pro/eslint-config

  • popRF

    popRF: Random Forest-informed Population Disaggregation R package

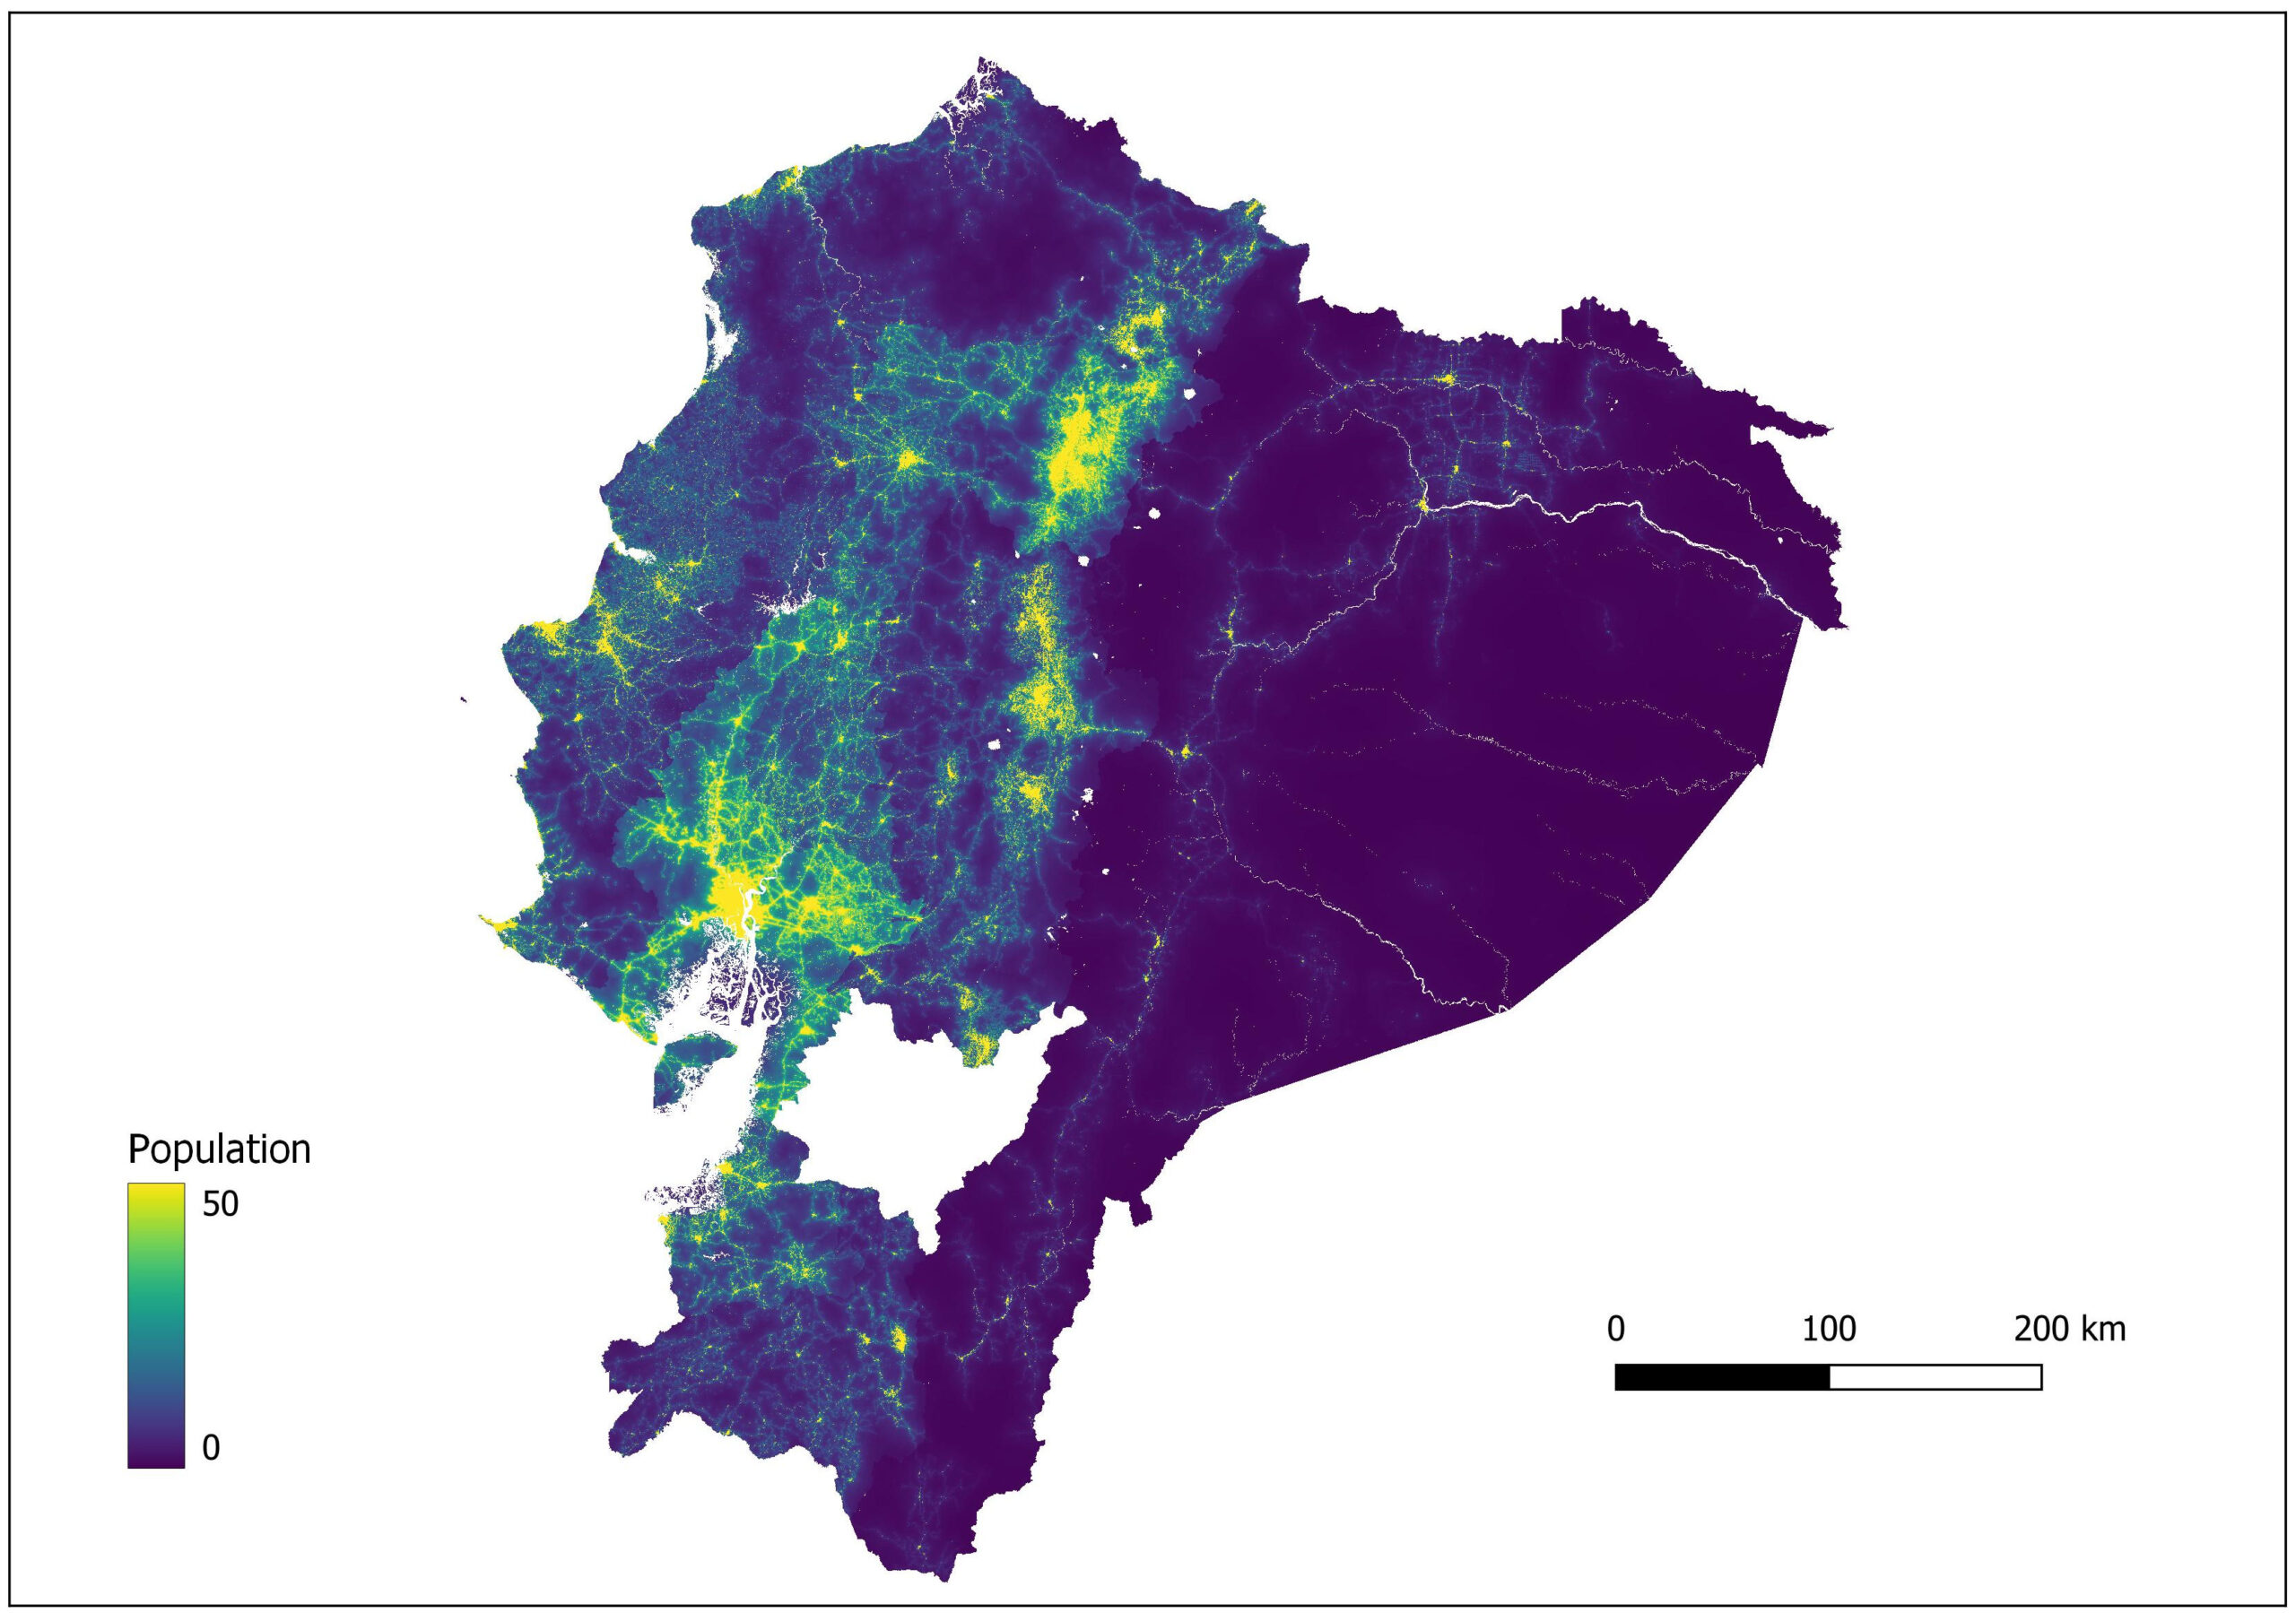
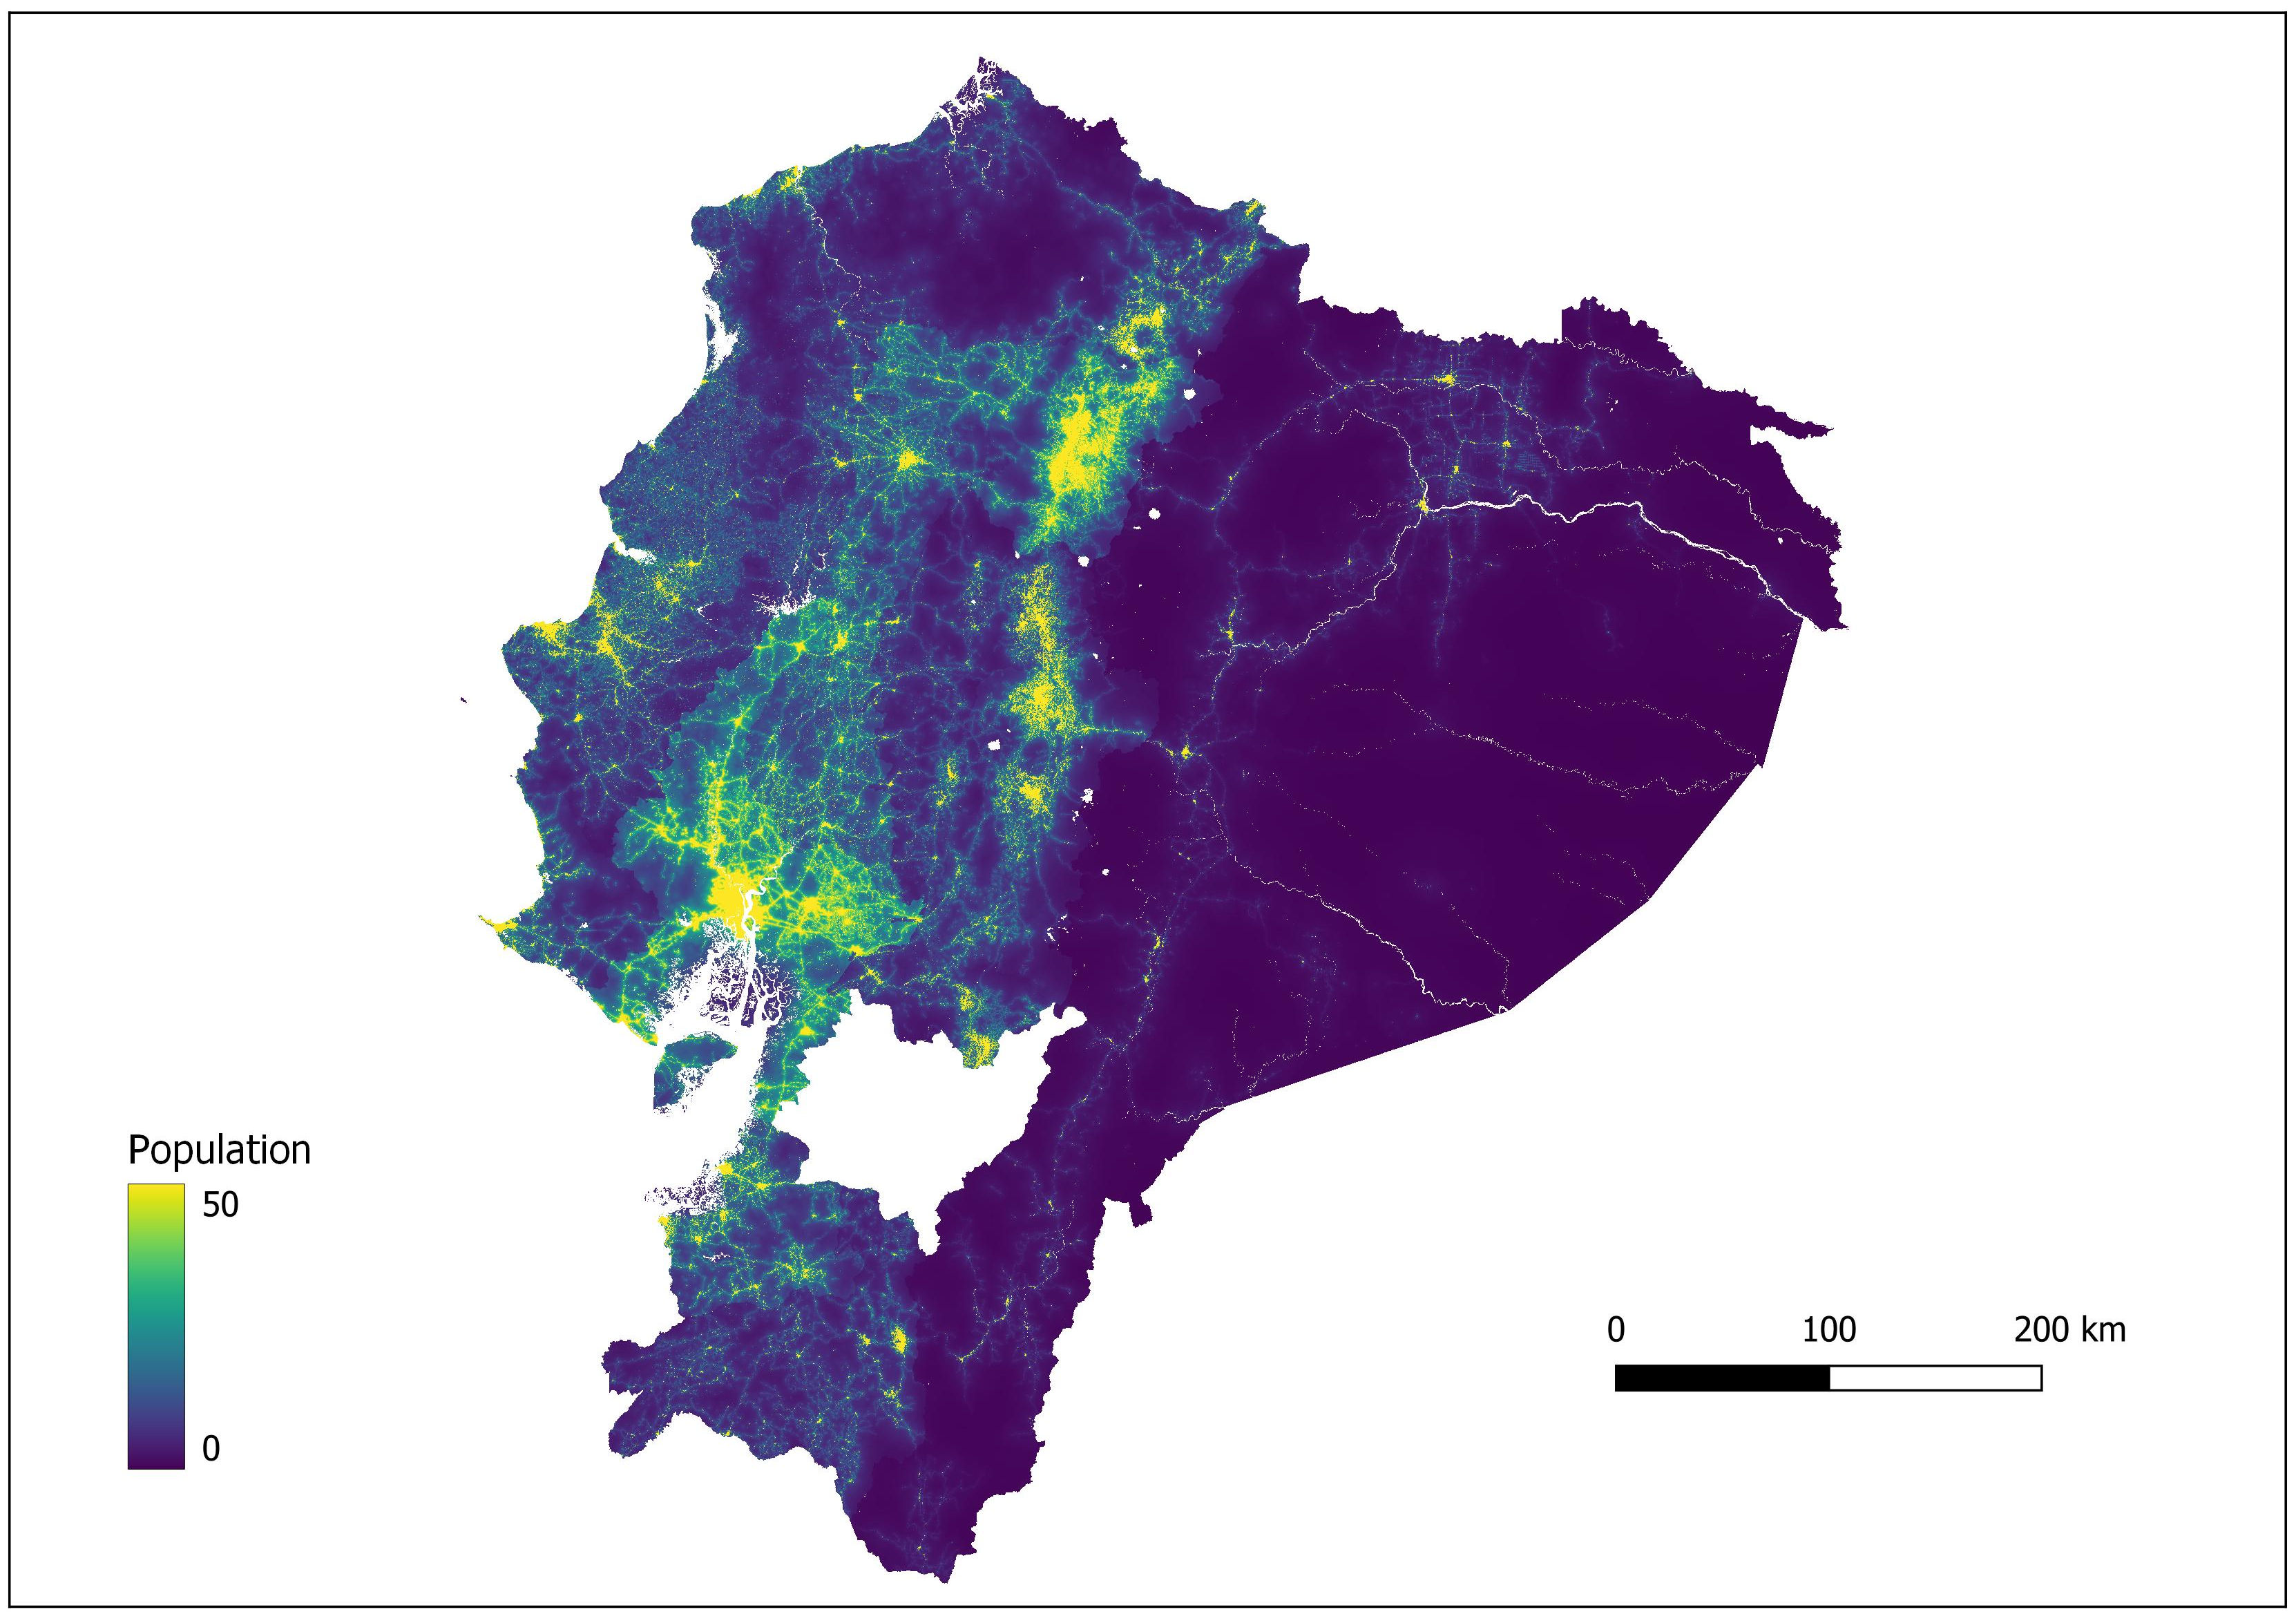
    High resolution, recent data on human population distributions are important for measuring impacts of population growth, monitoring human-environment interactions and for planning and policy development. Many methods are used to disaggregate census data and predict population densities for finer scale, gridded population data sets.
    popRF is a population modelling R package utilizing Random Forests to inform a dasymetric redistribution of census-based population count data. A description of using Random Forests machine learning method in popRF is described in Stevens et al.

    Installation

    The popRF package can be installed directly from Github.

    install.packages("devtools")
    devtools::install_github("wpgp/popRF")

    Demo

    The popRF package has a demo function popRFdemo to generate a population layer using the WorldPop geospatial covariates and subnational census-based population estimates for 230 countries. All necessary covariates will be downloaded and used to disaggregat population. All input datasets use a geographical coordinate system (GCS) with WGS 1984 datum (EPSG:4326) in Geotiff format at a resolution of 3 arc-second (0.00083333333 decimal degree, approximately 100m at the equator).

    The following script will produce a population layer for Nepal (NPL) using 4 cores.

    library("popRF")
    
    popRFdemo(project_dir="/home/user/demo",
              country="NPL", 
              cores=4)
     

    Basic Usage

    library("popRF")
    
    # Specifying a name of the file from which the unique area ID and corresponding 
    # population values are to be read from. The file should contain two columns 
    # comma-separated with the value of administrative ID and population without
    # columns names. If it does not contain an absolute path, the file name is 
    # relative to the current working directory
    
    pop_table <- list("NPL"="/user/npl_population.csv")
    
    
    # Specifying a nested list of named list(s), i.e. where each element of the
    # first list is a named list object with atomic elements. The name of
    # each named list corresponds to the 3-letter ISO code of a specified
    # country. The elements within each named list define the specified
    # input covariates to be used in the random forest model, i.e. the name
    # of the covariates and the corresponding, if applicable and local, path
    # to them. If the path is not a full path, it is assumed to be relative
    # to the current working directory
    
    input_cov <- list(
                      "NPL"= list(
                                 "cov1" = "covariate1.tif",
                                 "cov2" = "covariate2.tif"
                         )
                      )
                         
    # Specifying a named list where each element of the list defines the
    # path to the input mastergrid(s), i.e. the template gridded raster(s)
    # that contains the unique area IDs as their value. The name(s)
    # corresponds to the 3-letter ISO code(s) of a specified country(ies).
    # Each corresponding element defines the path to the mastergrid(s). If
    # the path is local and not a full path, it is assumed to be relative to
    # the current working directory                     
    
    input_mastergrid <- list("NPL" = "npl_mastergrid.tif")
    
    # Specifying a named list where each element of the list defines the path
    # to the input country-specific watermask. The name corresponds to the
    # 3-letter ISO code of a specified country. Each corresponding element
    # defines the path to the watermask, i.e. the binary raster that
    # delineates the presence of water (1) and non-water (0), that is used
    # to mask out areas from modelling. If the path is local and not a full
    # path, it is assumed to be relative to the current working directory.
    
    
    input_watermask <- list("NPL" = "npl_watermask.tif")
    
    # Specifying a named list where each element of the list defines the path
    # to the input raster(s) containing the pixel area. The name corresponds
    # to the 3-letter ISO code of a specified country. Each corresponding
    # element defines the path to the raster whose values indicate the area
    # of each unprojected (WGS84) pixel. If the path is local and not a full
    # path, it is assumed to be relative to the current working directory.
    
    input_px_area <- list("NPL" = "npl_px_area.tif")
    
    # Running a model
    
    res <- popRF(pop=pop_table,
                 cov=input_cov,
                 mastergrid=input_mastergrid,
                 watermask=input_watermask,
                 px_area=input_px_area,
                 output_dir="/user/output",
                 cores=4)
    
    # Plot populataion raster
    plot(res$pop)
    
    # Plot Error via Trees
    plot(res$popfit)

    Outputs

    Population raster layer in GeoTiff format.

    Contributions

    Contributions are welcome. Please raise or respond to an issue, or create a new branch to develop a feature/modification and submit a pull request.

    Acknowledgements

    #> citation("popRF")
    
    #> To cite popRF in publications use:
    #> 
    #> Bondarenko M., Nieves J.J., Forrest R.S., Andrea E.G., Jochem C., Kerr D., and Sorichetta A. (2021): popRF: Random Forest-informed Population
    #> Disaggregation R package, _Comprehensive R Archive Network (CRAN)_, url:https://cran.r-project.org/package=popRF.
    #>
    #> A BibTeX entry for LaTeX users is
    #> 
    #> @Manual{,
    #>  title = {popRF: Random Forest-informed Population Disaggregation R package.},
    #>  author = {Maksym Bondarenko and Jeremiah J Nieves and Forrest R. Stevens and Andrea E. Gaughan and Chris Jochem and David Kerr and Alessandro Sorichetta},
    #>  year = {2021},
    #>  journal = {Comprehensive R Archive Network (CRAN)},
    #>  url = {https://cran.r-project.org/package=popRF},
    #>  language = {English},
    #> }
      

    License

    GNU General Public License v3.0 (GNU GPLv3)

    Visit original content creator repository https://github.com/wpgp/popRF
  • kitsu-season-trends

    Season Trends

    web badge uptime badge contributors badge actions badge

    Kitsu season trends for the currently airing anime

    Using the Data

    All the data is free to use and available from:

    • JSON format in ./data or online at season.moe/data/{year}-{season}.json
    • MessagePack format online at season.moe/msgpack/{year}-{season}.msgpack

    Data Format

    Property names are compressed to save storage space and bandwidth.

    Seasonal Data

    Data grouped by airing season – Winter, Spring, Summer and Autumn/Fall.

    As of January 2022, the previous season is updated in tandem with the current season.

    {
      data: [
        {
          i: 12, // Kitsu anime ID
          t: 'One Piece', // Canonical title
          u: 0, // Subtype (0: TV, 1: ONA)
          n: 0, // 0: Leftover, 1: New
          d: [ // Data array containing each daily update
            {
              i: 0, // Index
              d: 450263, // Hours since epoch (x3600000 to get datetime)
              w: 82.19, // Wilson's confidence level (0.95) out of 100 (omitted if 0)
              l: 82.4, // Laplace smoothing out of 100 (omitted if 0)
              p: 100359.75, // Upvotes, ratings >= 3 out of 5, omitted if 0)
              o: 21433.25, // Downvotes, ratings < 3 out of 5, omitted if 0)
              r: 121793, // Users Rated (omitted if 0)
              u: 186101, // Users (omitted if 0)
              f: 6578 // Users Favourited (omitted if 0)
            }
          ]
        }
      ],
      meta: {
        current: 52, // Total started airing this season
        total: 226 // Total shows being tracked
      },
      updated: '2021-05-13T23:03:55.841Z' // ISO date of the last cron update
    }

    Anime Data

    {
      data: [
        {
          i: 0 // index
          d: 450263, // Hours since epoch (x3600000 to get datetime)
          w: 82.19 // Wilson's confidence level (0.95) out of 100 (omitted if 0)
          l: 82.4 // Laplace smoothing out of 100 (omitted if 0)
          p: 100359.75 // Upvotes, ratings >= 3 out of 5, omitted if 0)
          o: 21433.25 // Downvotes, ratings < 3 out of 5, omitted if 0)
          r: 121793 // Users Rated (omitted if 0)
          u: 186101 // Users (omitted if 0)
          f: 6578 // Users Favourited (omitted if 0)
        }
      ],
      meta: {
        i: 12, // Kitsu anime ID
        t: 'One Piece', // Canonical title
        u: 0, // Subtype (0: TV, 1: ONA)
      }
    }

    Development

    Requirements

    Commands

    • yarn start – live reload local server
    • yarn lint – lint source code
    • yarn build – build from source
    • yarn cron – manually run cron task to fetch new data

    Guide

    1. Fork the repo

    2. Clone the repo (git clone https://github.com/{yourusername}/api-docs.git)

    3. Create a new branch (git checkout -b improve-docs)

    4. Install dependencies (yarn install)

    5. Make the appropriate changes in the source files

    6. Check your changes for issues (yarn test)

    7. Commit your changes (git commit -am 'Improve docs')

    8. Push to your branch (git push origin improve-docs)

    9. Create a Pull Request

    License

    All code released under the MIT license

    Visit original content creator repository https://github.com/wopian/kitsu-season-trends
  • ci-vue-appstarter

    CodeIgniter 4 + Vue3 Application Starter

    Features:

    • 💡 Super fast single page application (SPA).
    • 🔥 Hot Module Replacment (HMR).
    • 🧩 Easy to install and update.
    • 🪓 Easy to customize.
    • 🔧 Zero Configuarations.
    • ⭐ Progressive web application (PWA).
    • ✨ And much more…

    Pre-packed:

    Note: none of these plugins or frameworks are required, feel free to remove or replace them as you like.

    • Windicss: on-demand alternative to Tailwind, with bunch of additional cool features and much faster, (you can replace it with whenever css framework you like).
    • Axios: A simple promise based HTTP client for the browser and node.js.
    • Vue Router: official vue router plugin.
    • Vite Plugin Pages: a lightweight file system based routing.
    • Vite Plugin PWA: zero config PWA plugin.

    Installation:

    Make sure your server meets CI4 requirements.

    run the following command to create a project:

    composer create-project mihatori/ci-vue-appstarter
    

    Setup

    • Copy env to .env.
    • Run: npm intall to install node dependencies.
    • Run: npm run dev to serve your assets.
    • Now start you CI server: php spark serve or access it through you virtual host.

    IMPORTANT:

    after the installation, there will be no bundled assets, so make sure to run npm run dev to serve them or just build them with npm run build command.

    Customizing:

    This project uses CodeIgniter Vite package, read more about it.

    Something doesn’t work fine:

    Please feel free to open an issue and we will try to fix it on the fly.

    Contribuiting:

    Literally any help will be appreciated, feel free to use PRs, and thanks in advance.

    Licence

    MIT License © 2022 Mihatori Kei

    Visit original content creator repository https://github.com/mihatorikei/ci-vue-appstarter
  • elgato-light-controller

    elc – Elgato Light Controller

    This is a simple CLI programm for controlling Elgato Key Lights.

    I searched for a simple project for my very first steps in the Go programming language and decided a CLI controller for my Elgato light would be a good choice.

    One could say this program is nothing else than a strongly typed shell script.

    Tested with an Elgato Key Light Air.

    Installation

    # Puts `elc` binary into $HOME/bin
    make install
    
    
    # Build and run from current directory
    make elgato-light-controller
    ./elgato-light-controller

    Configuration

    There’s only one important configuration value – the light’s URL. There are two ways to provide the URL to the program:

    1. Command-line option: elgato-light-controller --url=http://keylight.local:9123
    2. Environment variable ELGATO_LIGHT_URL (see “Usage” below)

    Usage

    # Store the light's URL into an environment variable
    % export ELGATO_LIGHT_URL=http://keylight.local:9123
    
    # Ask Keylight for information about itself
    % elc
    Product Name          : Elgato Key Light Air
    Hardware Board Type   : 200
    Hardware Revision     : 1
    MAC Address           : 3C:6A:9D:AA:BB:CC
    Firmware Build Number : 218
    Firmware Version      : 1.0.3
    Serial Number         : CW00L0A00000
    Display Name          :
    Features              : lights
    Wifi SSID             : wifi_ssid_name
    Wifi Frequency MHz    : 2400
    Wifi RSSI             : -38
    
    # Fetch current status ("status" or "s")
    % elc status
    State             : off
    Brightness        : 40 %
    Color Temperature : 5525 K
    
    # Switch on/off ("on" or "off", resp. "1" or "0")
    % elc on
    % elc off
    % elc 1
    % elc 0
    
    # Set brightness ("brightness" or "b"), value between 0 and 100
    % elc brightness 50
    % elc b 100
    
    # Set color temperature ("temperature" or "t", value between 2900 and 7000)
    % elc temperature 5500
    % elc t 3300
    
    # Specifying color temperature in short version (value/100)
    % elc temperature 55
    
    # Get status in JSON format
    % elc --format=json status
    {"state":false,"brightness":40,"temperature":5525}

    Libraries

    References

    Visit original content creator repository
    https://github.com/mjaschen/elgato-light-controller

  • ansible-monit-slack

    Ansible-Monit-Slack

    Build Status

    WARNING. This role although functional is still under construction and improvements therefore it may fail in some cases

    Ansible role to install and configure daemonized-only services and his dependencies to monitor them with Monit, and use Slack as an alert system. Using Service Configuration Templates (SCT) and the possibility to auto generate Basic Service Configuration Templates when the SCT of the specified service are not available.

    Requirements

    — Debian: jessie (8.10) and Ubuntu: Xenial (16.04)
    — An Ansible ready host (Ansible 2.4 or up)
    — systemd
    — Daemonized and running services

    Role Variables

    Update the role variables accordingly to your needs. These variables are in the main.yml file of the defaults folder within the role

    • monit_config_mode: Monit Excluding or Selective mode to configure the services (more info about this in the “Preconfigure services” section).
            Excluding mode = monit_config_mode: yes
            Selective mode = monit_config_mode: no
    • monit_blacklist: A list of service names who the user don’t want to monitor
    • monit_whitelist: A list of service names who the user want to monitor
    • slack_url: a WebHook url of your Slack team channel

    Preconfigure Services

    There are two modes for configure the required services for your system:

    1) Excluding mode: this means that the user only need to provide the blacklisted services (services who the user don’t want to monitor) the rest of the services found in the system will be monitored.

    2) Selective mode: Aside from the fact that the user must provide the blacklist, he will also need to provide the whitelist (services who the user want to monitor) because the services to be monitored will only be taken given this last list, the rest of services (blacklist and other found services in the system) will not be monitored.

    Update the monitrc template file located in templates folder according to your needs.

    Update the content of the each service template file that you want to monitor, located in templates/conf-available folder according to your needs. If no template is found related to your service, you can add the new template taking as an example the structure of the existing templates, no problem if you do not add, the system will automatically create a basic configuration template for your service.

    Preconfigure Slack

    For any mode, an url of the Slack team channel is needed to post the system alerts; in order to obtain it, the creation of a new Incoming WebHook is required. To do so, go to:

    • https://<yourteam>.slack.com/services/new/incoming-webhook
    • Choose or create a channel
    • Then click on Add incoming WebHooks Integration
    • Then you will see a Webhook URL that should be similar to this: https://hooks.slack.com/services/XX/YY/zz

    Install

    Run it in a playbook with a global become: yes like:

    - { role: ansible-monit-slack, become: yes, tags: monit }

    Or invoke the role in your playbook like:

    - hosts: foo
      roles:
       - role: ansible-monit-slack
         become: yes

    Log information

    If the installation process went without any problems you can find the log file in the path /etc/monit/rs.log with a summary about all services configured in the process.

    license

    Licensed under the GPL-3.0 license

    Visit original content creator repository https://github.com/cracos/ansible-monit-slack