set up default.yaml using your bot token (example config)
maybe look at the other settings?
deployment
run npm install, or npm install --production or npm ci --only=production
if you’re not planning on doing any code changes
run npm start, or npm run forever for production; see pm2 docs for
further configuration options
due to the fact npx prefers system commands, if you want to add config to
the process (eg log rotation) you should install pm2 globally beforehand.
how convenient for you!
pray to whatever god that it doesn’t nuke your computer
build script opts
usage: node build [-hsfn] [--no-install]

conniebot build script.

-h, --help      print out this message and quit.
-s, --start     watch files for development using nodemon.
-f, --forever   run conniebot in production using pm2 (open source version).
-n, --name      process name if running in forever mode. (default: conniebot)
--no-install    pass `--no` to npx, so you don't waste time installing nodemon
                or pm2.
Repository pattern & Dependency injection using TypeScript
This starter kit tries to implement a NodeJS, ExpressJS and MongoDB powered web application using repository pattern and dependency injection. The main idea is independent of any framework or database. TypeScript is used instead of JavaScript for various reasons. Especially the support for interface, generic type support, and better IntelliSense.
Usage
Install required modules (pnpm install)
Run (pnpm start)
Go to http://localhost:3000. You should see a static html page.
Note: Run pnpm run start:dev for hot-reload.
Core Features
Dependency injection
Repository pattern
CI (with code coverage) using Azure DevOps
Dependency injection using InversifyJS
InversifyJS is a very useful library for dependency injection in JavaScript. It has first class support for TypeScript. It is not necessary to use interface to use dependency injection because Inversify can work with class. But, we should “depend upon Abstractions and do not depend upon concretions”. So we will use interfaces (abstractions). Everywhere in our application, we will only use (import) interfaces. In the src/core/inversify.ts file we will create a container, import necessary classes and do dependency bindings. InversifyJS requires a library named reflect-metadata.
Repository pattern
Main purpose is to decoupte database from business logic. If you ever decide to change the databse then you only need to update repositories. The base repository is src/core/repository.ts. All other repositores should be derived from it (Ex: user.repository.ts).
Continious integration
The Azure Pipeline uses azure-pipelines.yml configuration file. The value of $(DB_PASSWORD), $(DB_USERNAME) etc placeholders should be replaced by pipeline variables. It published both test and coverage result.
This might not be the best implementation you have seen or might not follow all the principals.
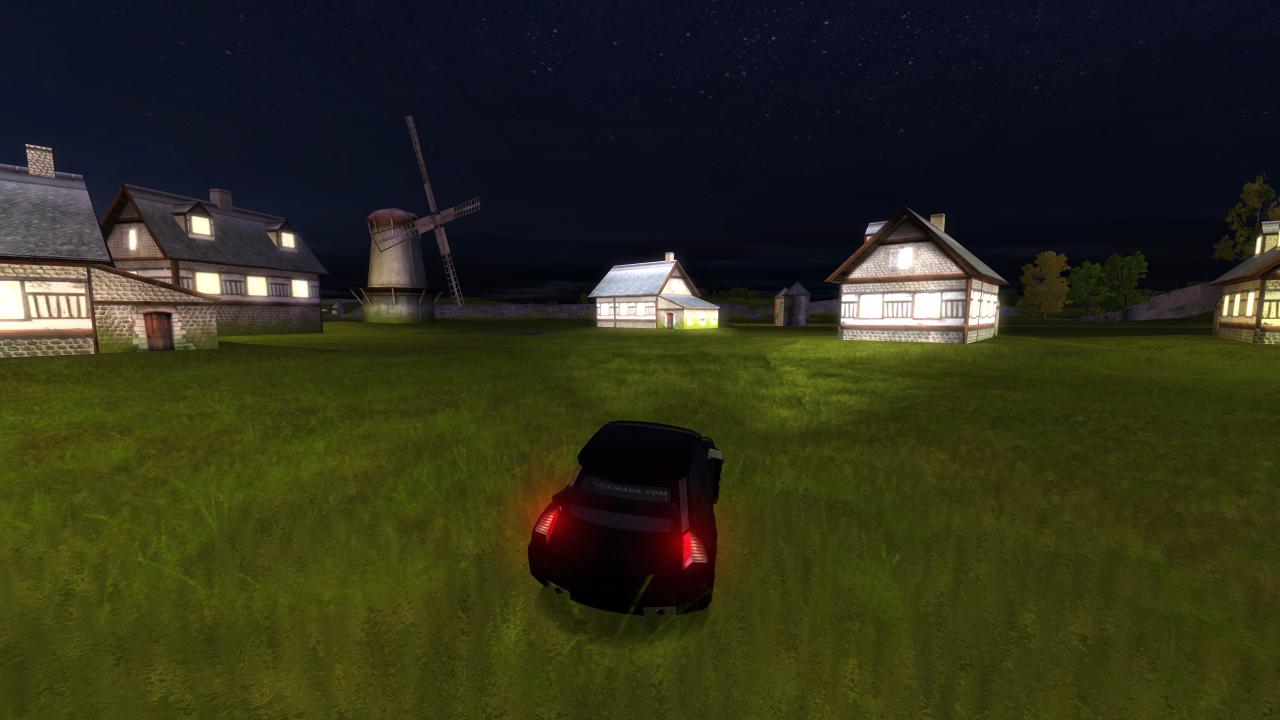
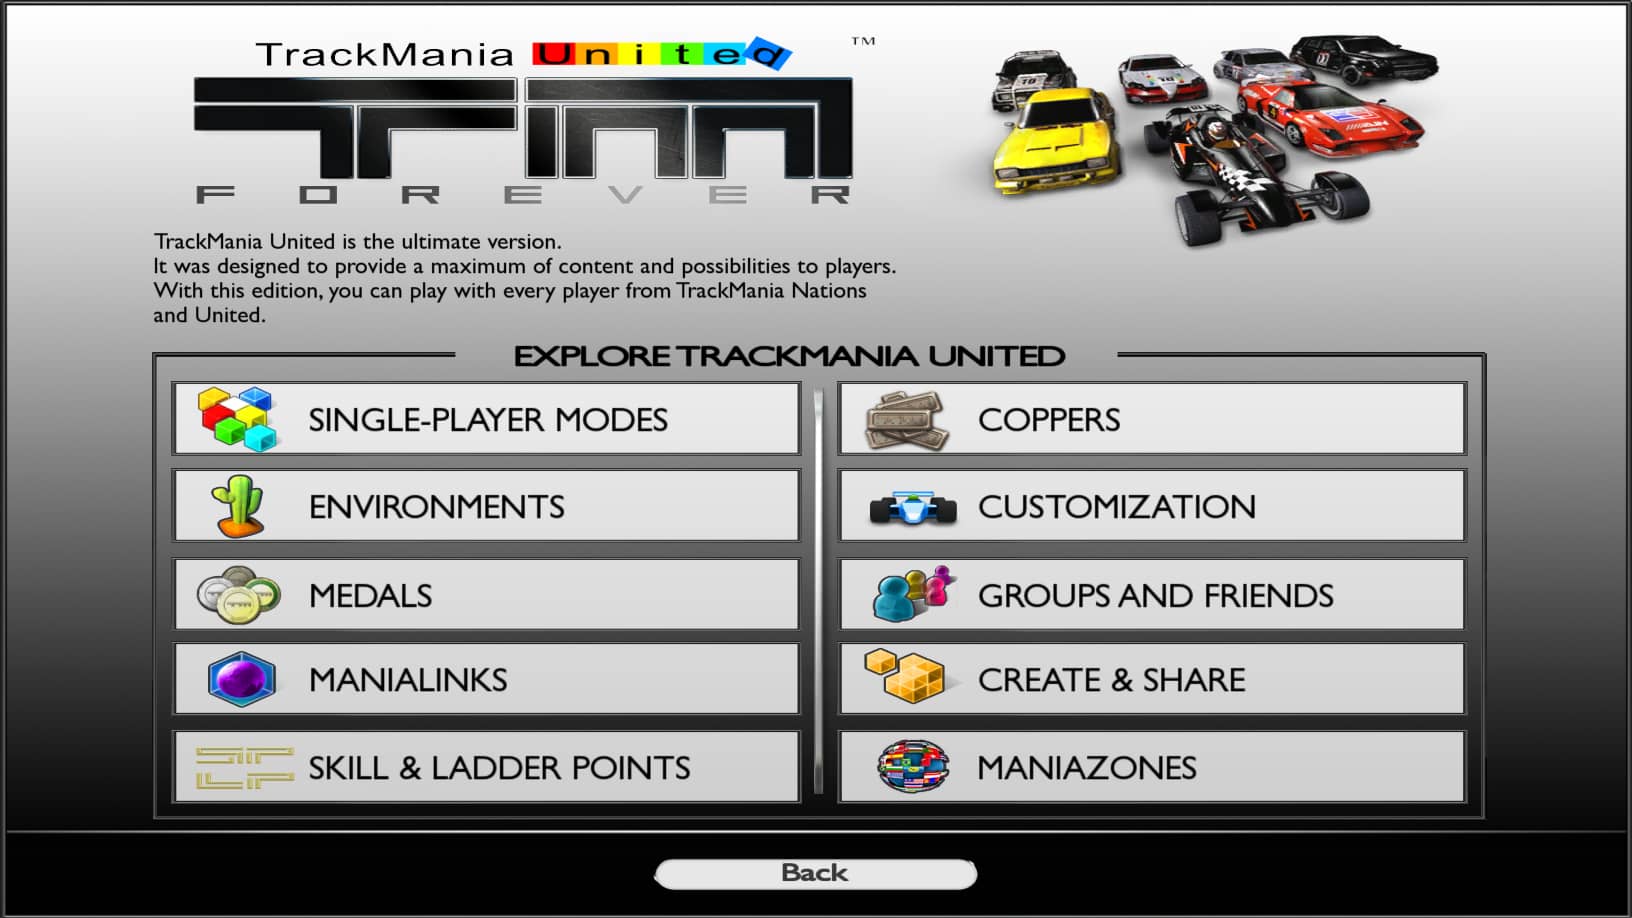
TrackMania United Transformation Pack (TMUTP) is an unofficial visual enhancement modification for TrackMania United Forever (TMU).
Its goal is to modernize the game’s graphics, bringing them closer to today’s standards.
Features
Updated Environment Textures
Each environment’s textures (except for Snow, Island, and Coast) have been replaced or modified to include textures from TrackMania² environments. This effectively gives TMU a fresh and modern look, going beyond what Nadeo envisioned originally.
STADIUM
Before
After
DESERT
Before
After
BAY
Before
After
RALLY
Before
After
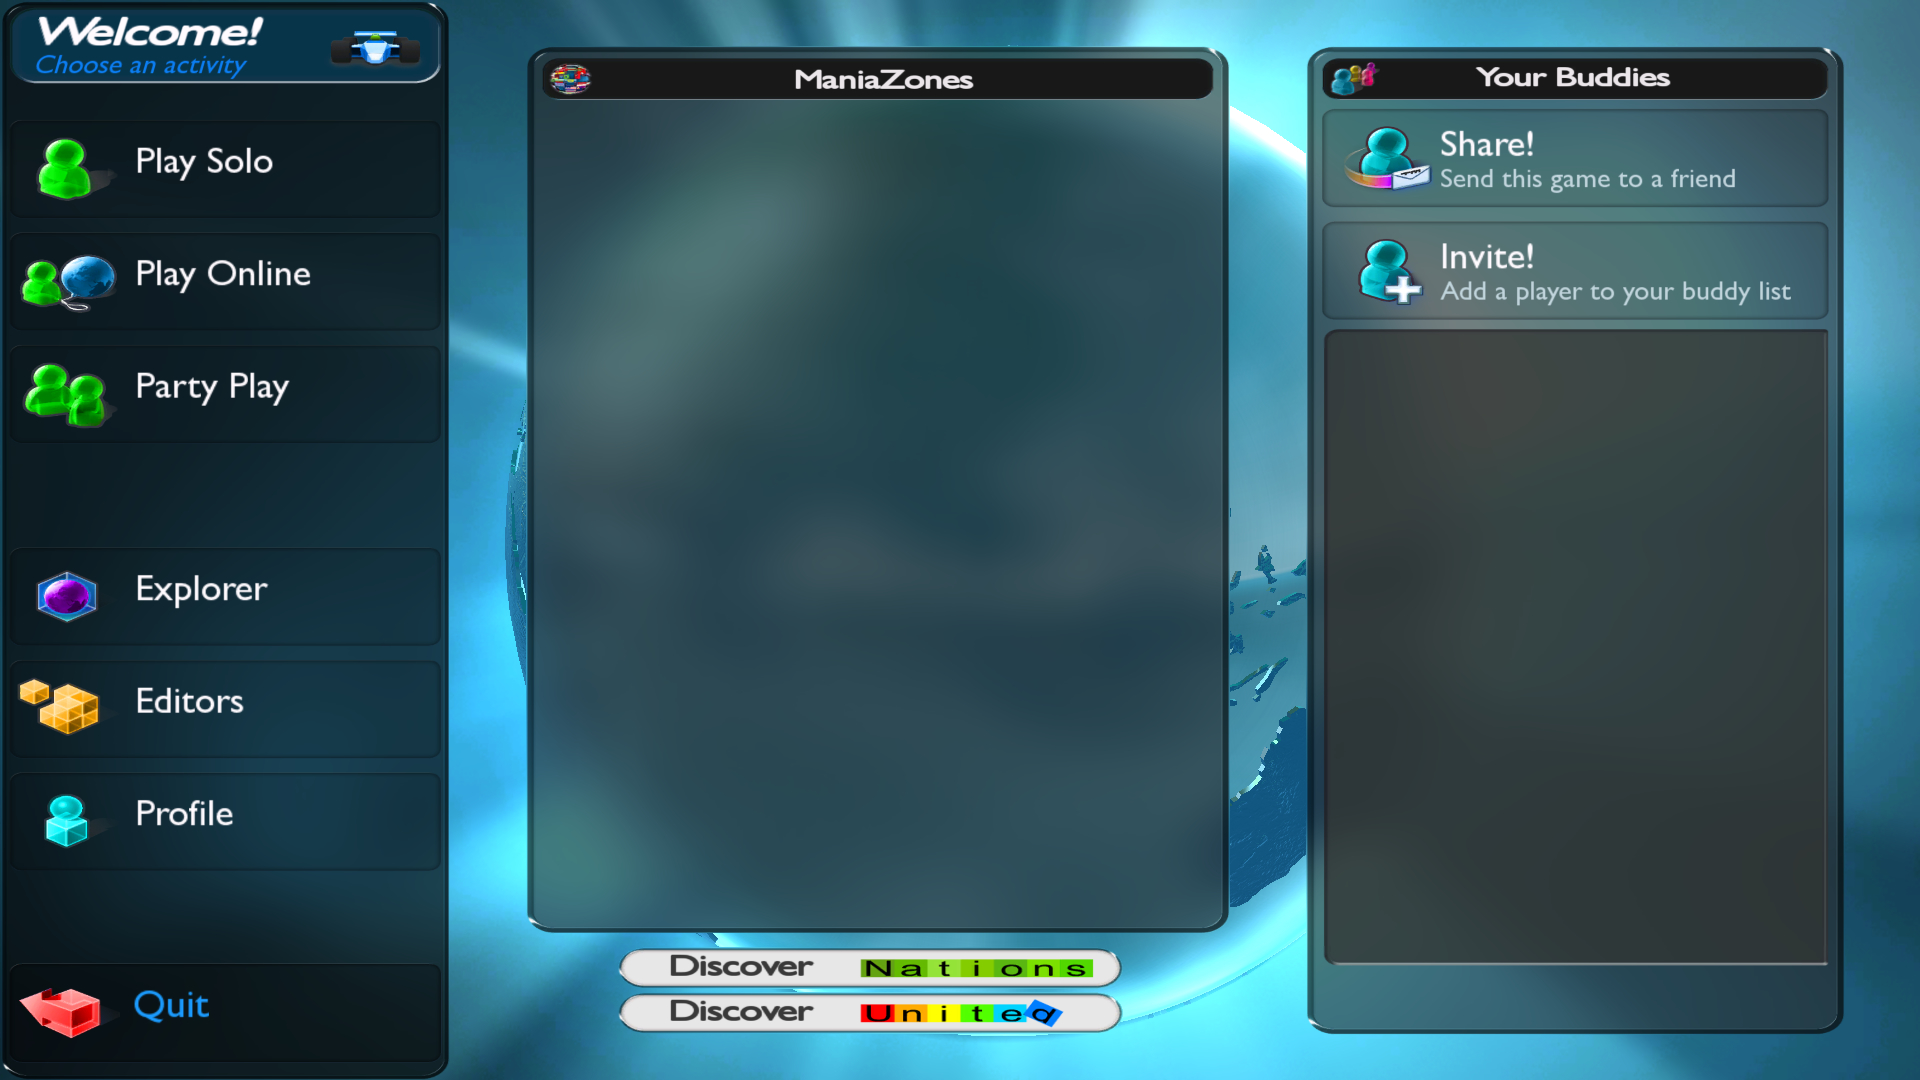
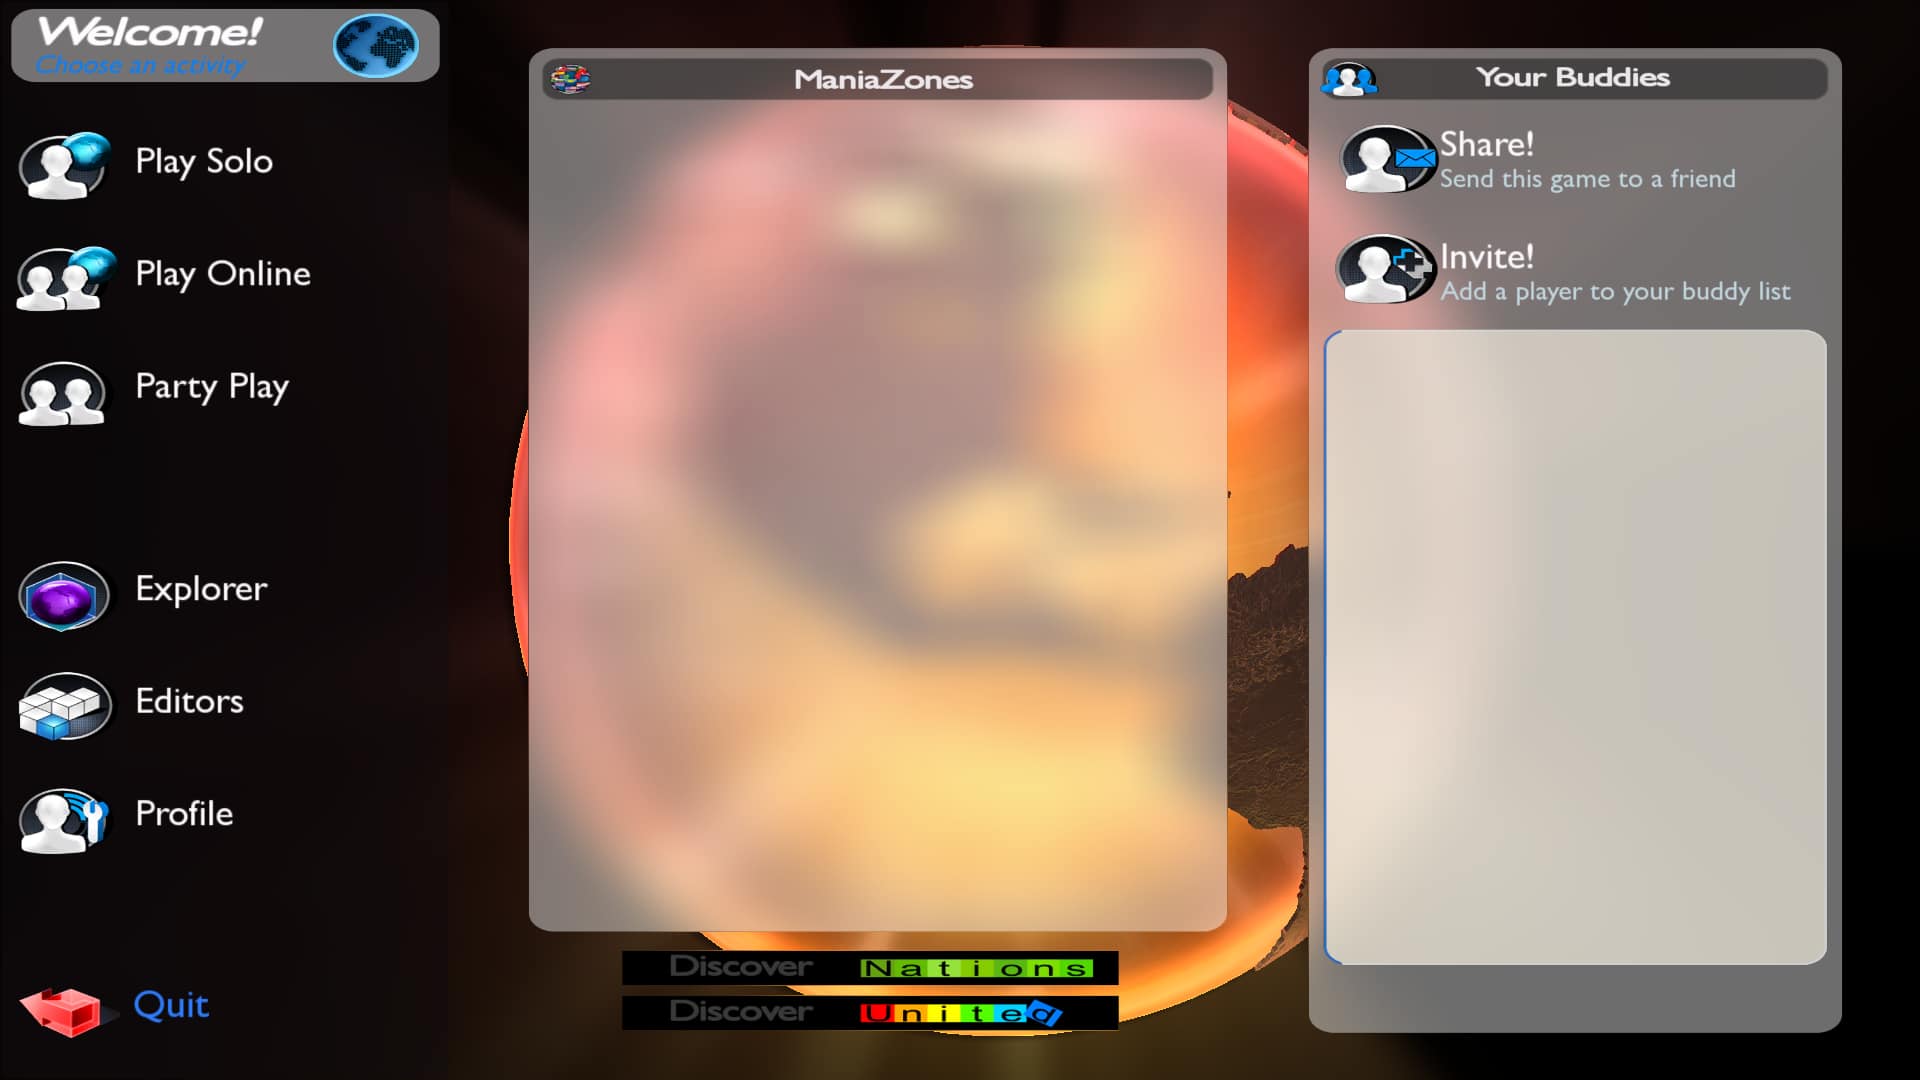
Updated Menu Textures
All menu textures have been updated or replaced with the menu textures from Maniaplanet 3.
Before
After
Updated HUD
The HUD now features the vignette overlay from TrackMania² & the removal of the level name background.
Before
After
Updated Sounds
In addition to new menu, engine, surface, impact, and environment sounds, a few audio files have been replaced with their higher quality versions found in TrackMania².
For environmental, surface, and impact sounds, I did my best to pick the sounds that most closely resembled the original ones found in TMU. The updated sounds are more detailed and improve feedback.
Installation
Overwrite the GameData directory in your TMU installation location with the GameData folder found in the archive.
Post-Installation
Play the game and look at all the new changes.
Uninstallation
Verify your game files through Steam.
Legal
All Rights Reserved. Ubisoft, Ubi.com, Maniaplanet, the Maniaplanet logo, Nadeo, the Ubisoft logo, and the Nadeo logo are trademarks of Ubisoft Entertainment in the U.S. and/or other countries.
A library that dispatches member access of a type to its mapped types when there are no common interfaces or inheritances between them.
Concepts
1. Abstraction
An abstraction is an interface or an enum that implementations are unified to. Usually you write code on abstractions, the calls are forwarded to its mapped types (implementations).
An implementation is a class or an enum that mapped to an abstraction. Method calls on abstractions are forwarded to implementations.
//in assembly "DemoImplementation1"publicenumUserType{Guest=0,User=1}publicclassUser{publicUser(stringname,UserTypetype){this.Name=name;this.Type=type;}publicUserTypeType{get;}publicstringName{get;}//note that ChangeType is not implemented}
3. Node
A node is a collection of implementations, where the mappings between abstractions and implementations are defined. You can implement INode or inherit from Node.
publicclassNode1:Node{publicNode1():base("node1"){this.AddMapping<DemoAbstraction.UserType,DemoImplementation1.UserType>();this.AddMapping<DemoAbstraction.IUser,DemoImplementation1.User>();//or you can use Scan method to add mappings in batch}}
4. Dispatcher
A dispatcher is built from a collection of nodes, using which you can create instances and invoke methods of abstractions.
In abstractions, methods with ConstructorAttribute are mapped to constructors. Usually constructors are named New, but other names are also fine. It’s a good practice to use the same literal for constructors because you will have friendly overload prompts from your IDE. A constructor’s return type should be the same as it’s declearing type(IUser in the below example).
publicinterfaceIUser{[Constructor]IUserNew(stringname);[Constructor]IUserSomethingElse(stringname,intage);//works but not recommended}
2. Static Members
In abstrctions, members with StaticAttribute are mapped to corresponding static members. You don’t need to create an instance when invokeing static members just like C# itself. Note that StaticAttribute can be applied to methods only.
Currently when using AliasAttribute on properties/events, you should add the corresponding prefix because the compiler will generate get_XXXset_XXX methods for properties and add_XXXremove_XXX for events. For example, if the property Name has its alias FullName, the correct abstraction should be
string Name { [Alias("get_Name", "get_FullName")] get; }
5. Exceptions
Exceptions can also be unified and handled. Your abstraction interface of the exception should inherit from IException, and catched by Exception<T> where T : IException.
//implementation2publicclassUserAlreadyExistsException:Exception{publicstringName{get;}publicUserAlreadyExistsException(stringname,stringcreatedBy):base($"User {name} already exists, created by {createdBy}"){this.Name=name;}}publicclassUserService{publicstaticUserCreateUser(stringname){varuser=GetUser(name);if(user!=null)thrownewUserAlreadyExistsException(name,user.CreatedBy);//...}}
//usagetry{_dispatcher.For<IUserService>(nodeId).CreateUser("test");}catch(Exception<IUserAlreadyExistsException>e){logger.Error(e.Message);//the properties of Exception are mapped automaticallyIUserAlreadyExistsExceptionex=e.Abstraction;varexistingName=ex.Name;//...}
6. Type Mapping
You can add mappings between abstractions and implementations using Node.AddMapping, or use Node.Scan to add mappings in batch. Node.AddMapping explicitly has a higher priority than Node.Scan. For one abstraction in one node, only one implementation is allowed. When you add mapping between TAbs and TImpl, some related mappings are added automatically including T[]IEnumerable<T>ICollection<T>IList<T> and T? for enums, as well as their possible combinations like IEnumerable<TAbs[]> to IEnumerable<TImpl[]>. When using Node.Scan, you can use a custom IScanConvention (or inherit from DefaultScanConvention) to filter mappings you don’t want.
Run the tests. We only take pull requests with passing tests.
License
The gem is available as open source under the terms of the MIT License.
Code of Conduct
Everyone interacting in the SwaggerBlocksGenerator project’s codebases, issue trackers, chat rooms and mailing lists is expected to follow the code of conduct.
Confippet is a versatile, flexible utility for managing configurations of
Node.js applications. It’s simple to get started, and can be customized and
extended to meet the needs of your app.
Simple – Confippet’s presetConfig automatically composes a single config
object from multiple files. For most applications, no further customization is
necessary.
Flexible – Supports JSON, YAML, and JavaScript config files.
In this example, we’ll create two config files: a default file that always
loads, and a production file that loads only when the NODE_ENV environment
variable is set to production. We’ll then import those files into a standard
Node.js app.
Installation
npm install electrode-confippet --save
Basic Use
Make a config/ directory inside the main app directory, and put the following
into a file named default.json in that directory:
In this example, default.json will be loaded in all environments, whereas
production.json will be loaded only when the NODE_ENV environment variable
is set to production. In that case, the value of host in the db object
will be overwritten by the value in production.json.
Config Composition
Confippet’s presetConfig composes together files in the config/ directory,
in the following order:
EXT can be any of ["json", "yaml", "js"]. Confippet will load all of them,
in that order. Each time it finds a config file, the values in that file will
be loaded and merged into the config store. So js overrides yaml, which
overrides json. You can add handlers for other file types and change their
loading order—see composeConfig for further details.
{instance} is your app’s instance string in multi-instance deployments
(specified by the NODE_APP_INSTANCE environment variable).
{short_hostname} is your server name up to the first dot.
{full_hostname} is your whole server name.
{deployment} is your deployment environment (specified by the NODE_ENV
environment variable).
Overridden values are handled as follows:
Objects are merged.
Primitive values (string, boolean, number) are replaced.
Arrays are replaced, unless the key starts with +and both the source
and the target are arrays. In that case, the two arrays are joined together
using Lodash’s _.union method.
After Confippet loads all available configuration files, it will look for
override JSON strings from the NODE_CONFIG and CONFIPPET* environment
variables. See the next section for details.
Environment Variables
Confippet reads the following environment variables when composing a config
store:
AUTO_LOAD_CONFIG_OFF – If this is set, then Confippet will not
automatically load any configuration into the preset config store.
Confippet.config will be an empty store. This enables you to customize the
config structure before loading.
NODE_CONFIG_DIR – Set the directory to search for config files. By default,
Confippet looks in the config directory for config files.
NODE_ENV – By default, Confippet loads development config files after
loading default. Set this environment variable to change to a different
deployment, such as production.
NODE_APP_INSTANCE – If your app is deployed to multiple instances, you can
set this to load instance-specific configurations.
AUTO_LOAD_CONFIG_PROCESS_OFF – By default, after composing the config from
all sources, Confippet will use processConfig to process
templates. You can set this environment variable to
disable template processing.
NODE_CONFIG – You can set this to a valid JSON string and Confippet will
parse it to override the configuration.
CONFIPPET* – Any environment variables that starts with CONFIPPET will be
parsed as JSON strings to override the configuration.
Using Templates
Values in your config files can be templates, which will be resolved with
a preset context. See processConfig for more information about how to use
config value templates.
Usage in Node Modules
If you have a Node.js module that has its own configurations based on
environment variables, like NODE_ENV, you can use Confippet to load config
files for your module.
The example below will use the default compose options to compose
configurations from the directory config under the script’s directory
(__dirname).
The composeConfig feature supports a fully customizable and extendable config
structure. Even Confippet’s own preset config structure can be extended, since
it’s composed using the same feature.
If you want to use the preset config, but add an extension handler or insert
a source, you can turn off auto loading, and load it yourself with your own
options.
NOTE: This has to happen before any other file accesses
Confippet.config. You should do this in your startup index.js file.
The above compose option adds a new provider that looks for a file named by the
environment variable CUSTOM_CONFIG_SOURCE and will be loaded after all default
sources are loaded (controlled by order).
It also adds a new extension handler, json5, to be loaded after json.
To further understand the _$ and the compose options, please see the
documentation for store, composeConfig, and processConfig.
React com TypeScript – 🗺️ Mapa mundi de estações de rádio usando a API do Radio Browser
Este projeto React com TypeScript permite visualizar todas as estações de rádio disponíveis em todo o mundo usando a API do Radio Browser. O mapa é gerado usando a biblioteca Leaflet, que permite interagir com o mapa para ampliar e reduzir, bem como clicar em cada marcador ouvir a radio desejada.
Instalação
Clone este repositório em sua máquina local.
Abra o terminal e navegue até o diretório raiz do projeto.
Execute yarn install para instalar as dependências do projeto.
Uso
Depois de instalar as dependências, execute yarn dev no terminal para iniciar o servidor de desenvolvimento.
Abra o navegador e navegue para http://localhost:5173 para visualizar o mapa mundi de estações de rádio.
Clique em qualquer marcador no mapa para ouvir a radio.
Bibliotecas utilizadas
Este projeto faz uso das seguintes bibliotecas:
React: Biblioteca JavaScript para criação de interfaces de usuário.
TypeScript: Linguagem de programação que adiciona tipagem estática ao JavaScript.
Leaflet: Biblioteca de mapeamento interativo para uso em navegadores.
Radio Browser API: API pública que fornece informações sobre estações de rádio de todo o mundo.
Contribuição
Se você deseja contribuir para este projeto, siga as etapas abaixo:
Realize um fork do repositório.
Clone o seu fork em sua máquina local.
Crie uma branch para a sua alteração.
Faça as alterações necessárias e commit.
Envie a branch para o seu fork e abra um pull request.
Fast keyword search app for iOS. On the Apple App Store as Chears.
App Store description
Quickly search for images, videos, and more using your preferred search services.
Easily add your own favourite sites and apps, or use the most popular services already included.
See the results quickly in Chears, or have them open automatically in Safari or other apps.
Project background
This is my first iOS project. It took way too long to complete as I used it to learn Swift, the Apple ecosystem, and general programming concepts. Although the app is working and can be installed, it represents my earliest efforts to code, and therefore is messy. Hopefully by making the code viewable, others can learn from my mistakes. Maybe they’ll also find ways to improve the app, or find some tips for their own app(?!).
Points of interest
The working title for this app is LabsSearch, while the published name is Chears. Sorry for the confusion.
English is the base language, with full Korean localization available.
As the primary purpose of writing this app was to experiment with code, no third-party software or packages were used. As such, two modules were created for use in the app: A favicon fetcher (IconFetcher), and a character encoder/decoder (CharacterEncoder).
To do
The app has a massive list of (theoretically) planned features, as well as bugs to be fixed. These were tracked in a flat text document, and as such do not have any issue tracking attached to them. These may be uploaded individually in the future, but probably not.
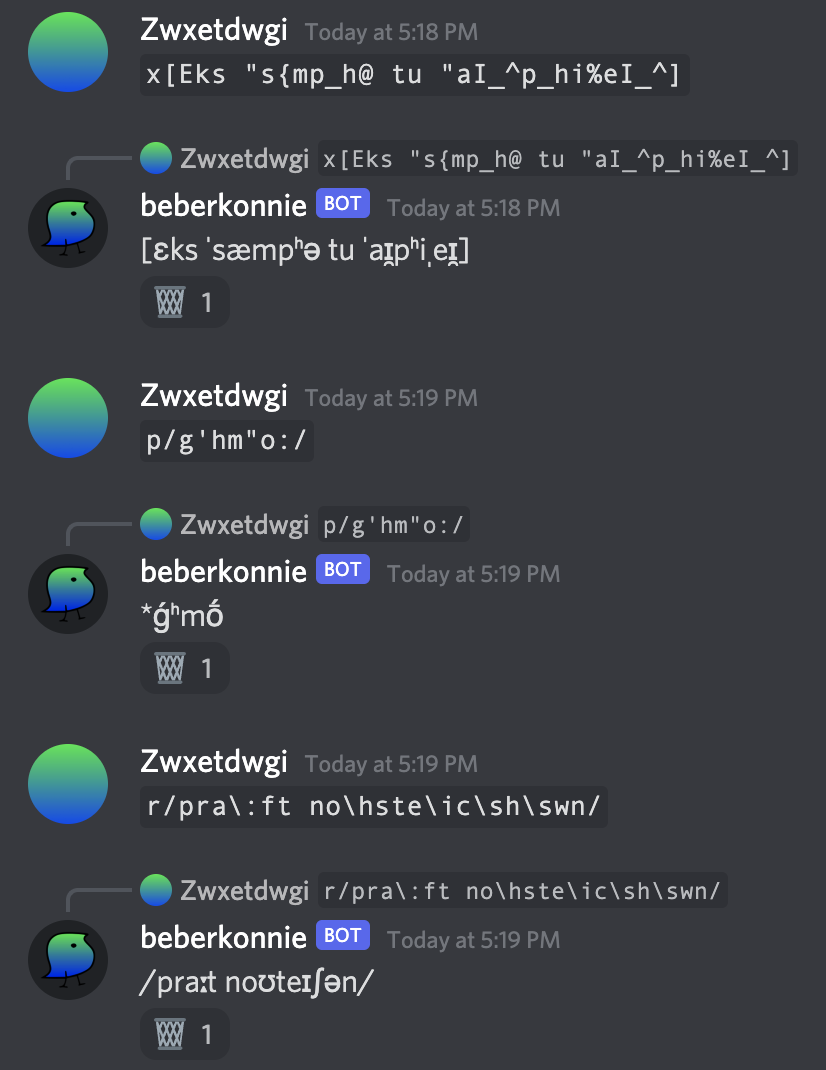


 https://github.com/xsduan/conniebot